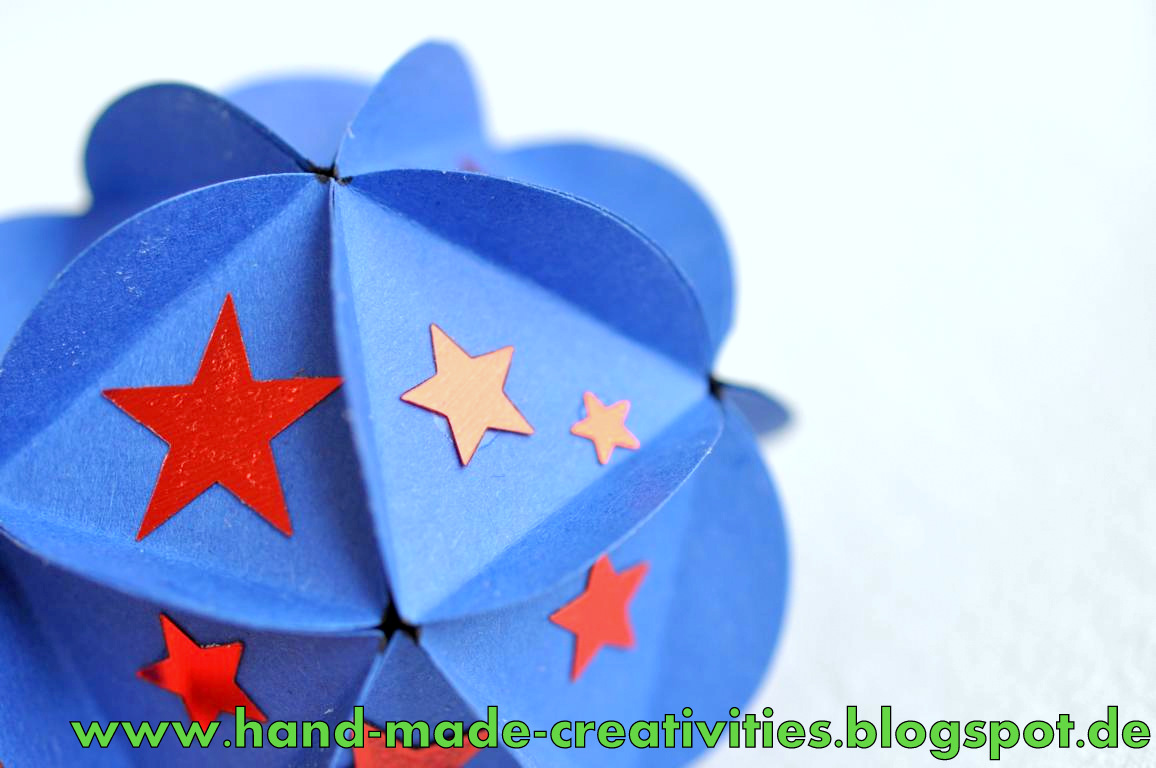
You need: 6 napkins, scissors, band
Понадобится: 6 салфеток, ножницы, ленточка
Салфетку развернуть и положить перед собой на стол
Unfold the napkin and put it in front of you
Сложить салфетку "веером", ширина зиг-зага должна быть примерно полтора сантиметра
Fold the napkin as zig-zag together, the line should be around 1.5cm wide
Когда все шесть салфеток сложены, положить их друг на друга
Once you are done with all six napkins, put them over each other together
Связать серединку ленточкой
Fix them in the middle with a piece of band
Обрезать на вкус края (зубчиком, полукругом или на что фантазии хватит)))
Cut the end sides of each napkin as you like - sharp or round or anything else)))
Вот что получилось
So it may look like
Приступаем к ювелирной работе - салфетку разделить на слои. В немецких салфетках их (оказывается))) три. Удобно поддевать чем-нибудь острым, например зубочисткой. Еще удобно сначала чуть-чуть рассоединить края каждой салфетки, а уже потом действовать дальше.
Now some tiny job to be done - separate each napkin on different layers. German napkins have three of them. It is practical first to put one side of each napkin separately and then act further.
Вот что получилось
So it may look like
А теперь приступаем к самой муторной работе - оооооочень осторожно разъединям все слои, один налево, один направо и один остается посрединке. Сильно тянуть нельзя, иначе салфетка порвется, но надо стараться отделить слои как можно глубже и ближе к серединке, тогда помпон получится более круглым, а не приплюснутым
Now separate all layers of each napki. Be very careful, as napkins are very thin and break easily. Try to separate the levels one from the other as deep and near to the middle as possible - in this way you will make you pompon more round and less flat.
Спустя некоторое (=много))) времени помпон готов! Можно повесить, можно воткнуть на палочку!
Some time later you are done and can enjoy your pompon!
Have fun!