
1. Take a napkin and unfold it so that paper lies only level
Разложите салфетку в полную величину

2. Put the corners to the middle. ONE time
Загните уголки к серединке. РАЗ

3. Put the corners the second time to the middle. TWO time now
Загните еще раз уголки к серединке. ДВА раза то есть уже получается

4. And again put the corners the third time to the middle. THREE time all together
И еще раз загибаем уголки к серединке. ТРИ раза всего!

5. Turn the napkin around
Переверните салфетку

6. Put the corners to the middle :-)
И загибаем уголки к серединке один раз и с этой строны

7. Fold a half of each corner inside
Пригибаем половинку каждого уголка по направлению центра

8. and turn the whole construction around
и переворачиваем всю конструкцию, будет выглядеть так:

9. Now you should take care, that the corners, which you folded at the step 7 stay so as you did them and very carefully turn the petal out. Repeat with all corners
теперь очень осторожненько начинаем выворачивать угловые карманы на другую сторону - смотрите, чтобы уголки, которые мы пригнули на шаге 7 остались в своем положении.

10. So it will look like from the other side when you are done
Когда все четыре угловых клапана будут вывернуты, с обратной стороны это будет выглядеть вот так: (само пока не держится)

11. But first you should turn the next level of petals out - so that the flower is able to hold the form on its own
Вернемся к оборотной стороне - повторяем выворачивание клапанов, теперь тех, которые находятся посредине сторон.

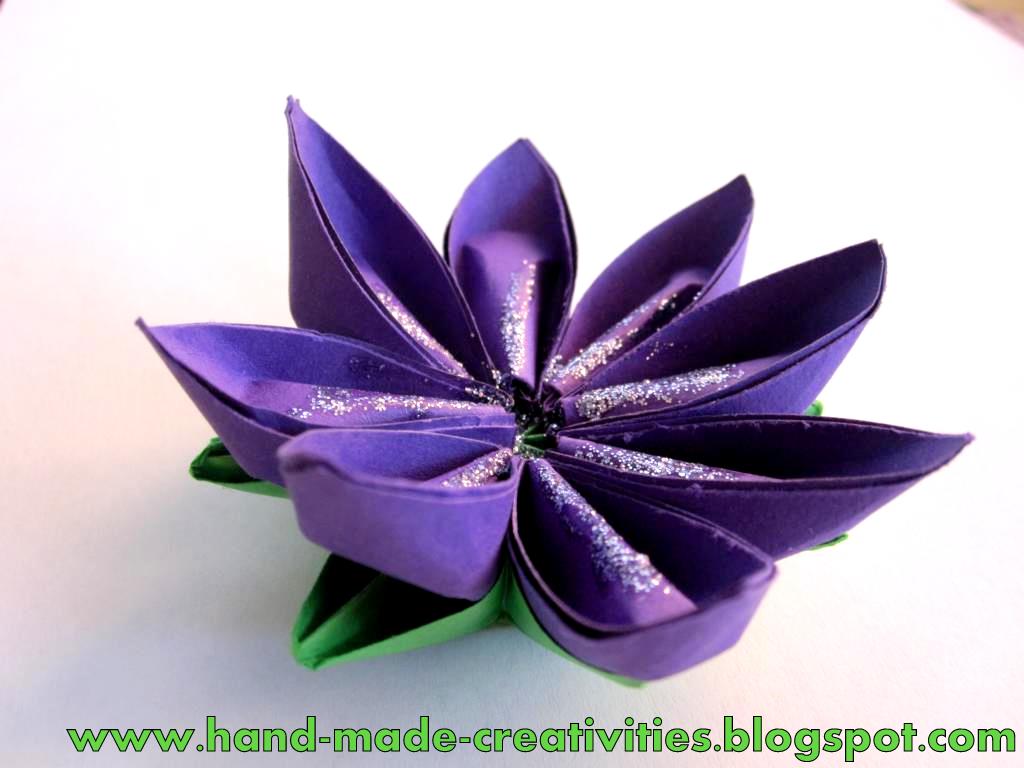
12. Congrats! You've got a flower
Когда все клапанов вывернуты, четверолистник будет держаться самостоятельно!

13. It is nice to decorate table with that kind of flowers
Мои поздравления! Вы сделали это!!!

A few pics to enjoy

Have Fun!


 1. Take a ribbon of the color and width you wish. You need simply to garther it on one side.
 2. Do it so long till you like how the flower looks like!
 3. Sew together flower base
 4. Now you need to take another ribbon of a color you wish the flower's stem is and a piece of a middle hard wire.
 5. Begin to turn the ribbon around the wire. To make the construcion more stable, I did it one time to the button of a stem and then back to the flower's base.
 6. Fix together the ribbon end with a thread
 7. and fix the stem to the flower also with threads
 8. Congrats! Your flower is ready! The stem is flexible, but it holds the form, so you can actually use it for different purposes.
 I used it to bind the napkin
 Pretty easy construction and looks very very nice :-)
 Have fun!

 2. Put the corners to the middle. ONE time
 3. Put the corners the second time to the middle. TWO time now
 4. And again put the corners the third time to the middle. THREE time all together
 5. Turn the napkin around
 6. Put the corners to the middle :-)
 7. Fold a half of each corner inside
 8. and turn the whole construction around
 9. Now you should take care, that the corners, which you folded at the step 7 stay so as you did them and very carefully turn the petal out. Repeat with all corners
 10. So it will look like from the other side when you are done
 11. But first you should turn the next level of petals out - so that the flower is able to hold the form on its own
 12. Congrats! You've got a flower
 13. It is nice to decorate table with that kind of flowers
 A few pics to enjoy
 Have Fun!


